
Understanding the Mold Remediation Process: Step-by-Step Guide For Homeowners
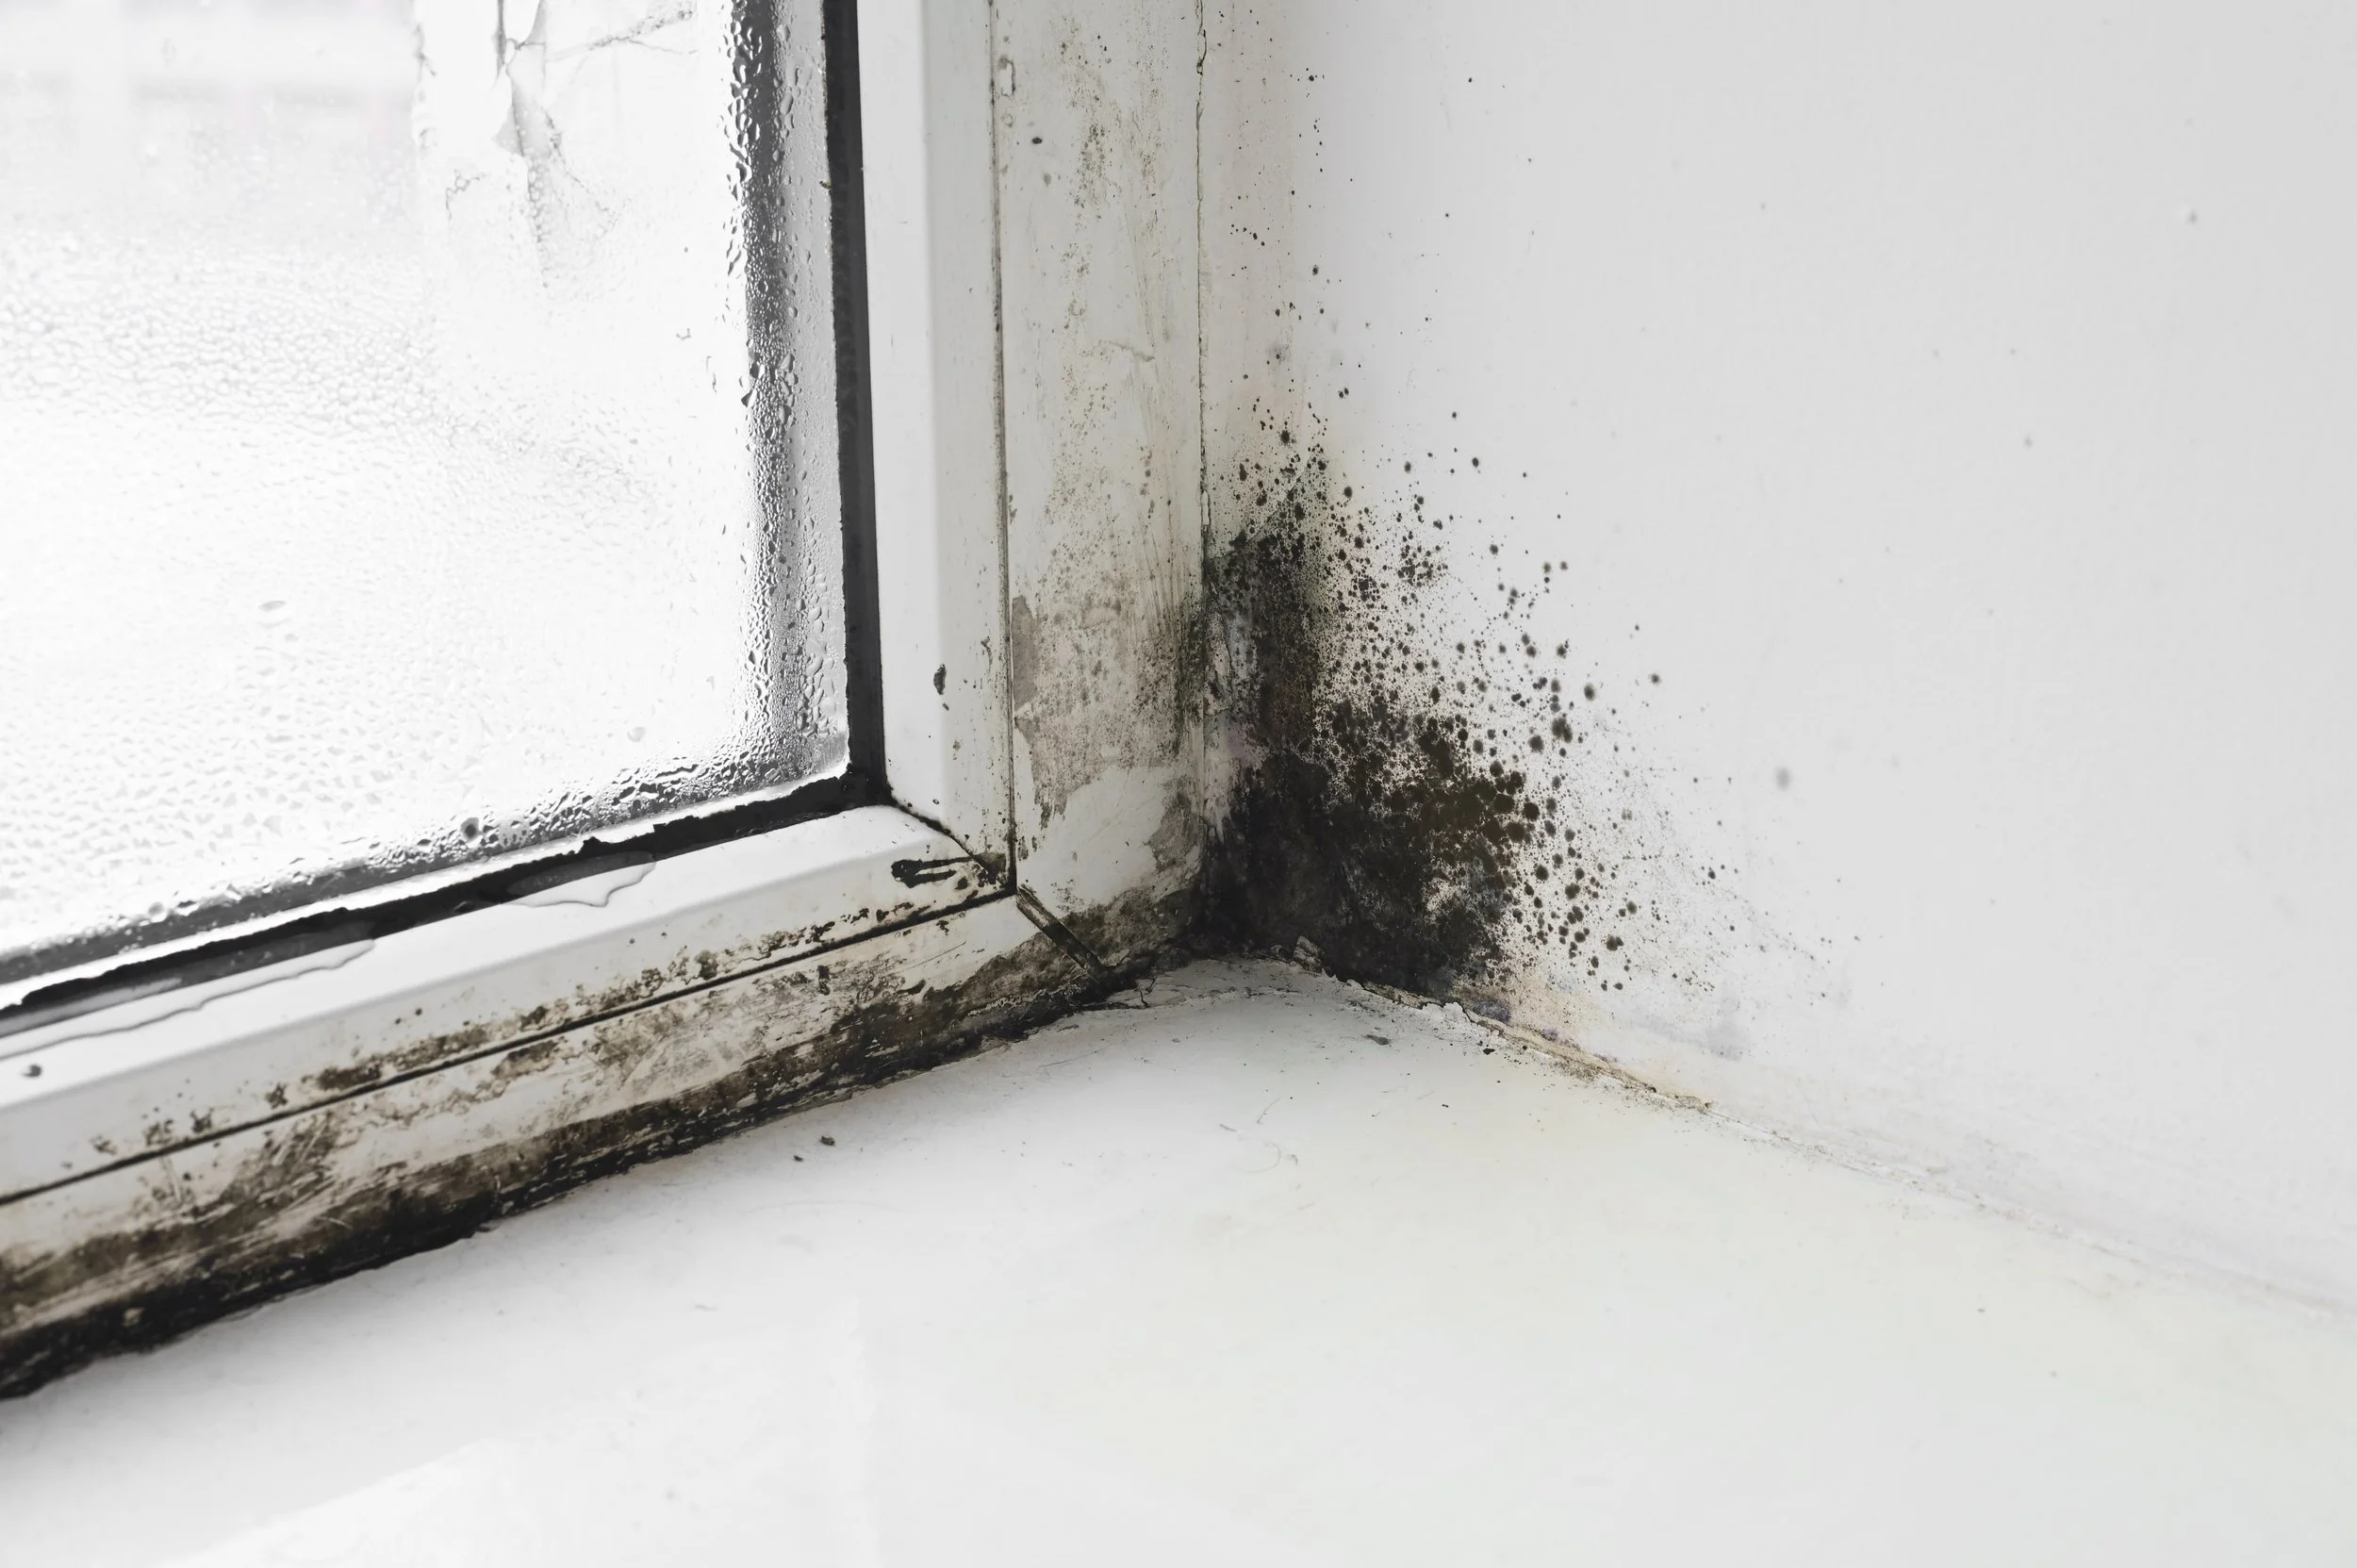
You've just received the call that no homeowner wants: "We discovered mold in the inspection." Perhaps you noticed those characteristic black streaks behind the washing machine, or a mildew smell prompted you to take a closer look. Now your mind starts racing with questions: How serious is it? Will my family be okay? What happens next? Breathe deeply—you're not the first person to be here. Every year, 1 in 3 homes deal with mold issues, according to the EPA, and Southern California’s humidity makes our area especially vulnerable.
The thing is, mold remediation is more than wiping walls clean—it's a science-supported procedure to safeguard your health and your home. But what many companies won't admit is that not all mold remediation is equal. Some cut corners with containment; others omit post-cleanup testing. That's when you begin to wonder what to expect during mold remediation, and how long the process can take.
In this helpful, step-by-step guide, we'll de-mystify the process of mold remediation, take you through the mold remediation steps, and show you the behind-the-scenes process of professional mold removal. By the time you finish reading this guide, you'll know precisely how the experts (like us at Mold Detection SoCal) approach mold from inspection to final clearance—and why omitting even one step might put your family at risk. Let's get started.
Why a Proper Mold Remediation Process Matters
Mold is more than a mere cosmetic aggravation. Untreated mold, the EPA says, can cause allergies, asthma attacks, and even life-threatening respiratory infections, particularly in children, the elderly, or anyone with a compromised immune system. Structural damage is no illusion either: mold breaks down wood and drywall, and the repair costs can reach into the thousands.
Attempting a DIY spray-and-scrub might seem tempting, but with containment and strict cleaning missing, the invisible spores just recolonize. A professional mold cleanup process for homeowners guarantees that you address both the visible growth and the invisible spores hiding in plain sight, saving you time, dollars, and headaches down the line.
Overview: The 7 Key Steps of Mold Remediation
Here’s the big picture of the professional mold removal process:
Mold Inspection & Assessment
Containment of Affected Areas
Air Filtration & Spore Removal
Mold Removal & Cleaning
Drying & Moisture Control
Repairs, Restoration & Prevention
Final Inspection & Clearance Testing
Read on to find out why every step is essential—and how long mold remediation takes for an average single-family residence.
Step 1. Mold Inspection & Assessment
Before any cleanup begins, a certified inspector surveys your home:
Visual Assessment: Walking through bathrooms, basements, attics, and any water‑damaged areas to look for visible and concealed mold.
Moisture Mapping: Using infrared cameras and moisture meters to pinpoint damp spots inside walls or under floors.
Air & Surface Sampling: Capturing spores with specialized pumps and swabs, then sending samples to an accredited lab.
Cause Identification: Pinpointing leaks, poor ventilation, or flooding that fueled mold growth.
Why It Matters: If you bypass this, you end up treating symptoms only—mold is sure to come back if moisture sources aren't addressed.
Timeframe: 1–2 hours for a typical 2,000 sq ft home.
Step 2. Containment of Affected Areas
Mold spores travel on air currents, so containment is crucial:
Sealing Off Zones: Hanging heavy-duty plastic sheeting and taping seams around doorways and vents.
Negative Air Pressure: Operating HEPA‑filtered negative air machines to pull contaminated air out of the work area.
HVAC Shutdown: Turning off heating and cooling systems to prevent spores from circulating through ducts.
Why It Matters: If you don't contain the area, spores travel and generate secondary infestations, doubling your cleanup bill.
Timeframe: 1–3 hours, depending on how many rooms are involved.
Step 3. Air Filtration & Spore Removal
With the area sealed, professionals clear the airborne spores:
HEPA Air Scrubbers: Continuously filter the air, capturing particles down to 0.3 microns.
Negative Air Machines: Accelerate spore removal by expelling contaminated air outside.
Industrial Dehumidifiers: Lower humidity below 50%, making conditions hostile to mold growth.
Why It Matters: Mold spores are tiny, floating, and settle if not actively wiped away. Effective filtration maintains the cleanup.
Timeframe: 4–6 hours for full‑house remediation; smaller jobs take less time.
Step 4. Mold Removal & Cleaning
Now comes the hands‑on work:
Non‑Porous Materials (tile, metal, glass): Cleaned with EPA‑approved antimicrobial solutions and HEPA vacuuming.
Semi‑Porous Materials (wood, concrete, drywall): Scrubbed, sanded, or encapsulated with mold‑resistant sealant.
Porous Materials (insulation, carpeting, furniture): Removed and replaced if mold has deeply penetrated.
Why It Matters: Wiping mold clean won't get to its origins. A professional touch sees you taking care of every touched surface correctly.
Timeframe: 1–3 days, depending on infestation size.
Step 5. Drying & Moisture Control
After removal, drying is non‑negotiable:
Industrial Dehumidifiers & Air Movers: Drive moisture out of walls, floors, and air.
Moisture Meter Verification: Confirm surfaces are fully dry before repairs.
Plumbing & Leak Repairs: Fix pipes or roofing issues uncovered during remediation.
Why It Matters: All remaining moisture is a permit for mold to come back instantly. Full drying seals the deal on long-term success.
Timeframe: 1–2 days, depending on humidity and square footage.
Step 6. Repairs, Restoration & Prevention
With mold gone and surfaces dry, it’s time to restore your home:
Rebuilding Walls & Floors: Replace drywall, flooring, and insulation removed earlier.
Painting & Finishing: Use mold‑resistant products in kitchens, bathrooms, and basements.
Preventive Upgrades: Improve ventilation, add exhaust fans, or install a whole‑house dehumidifier.
Why It Matters: Restoration closes the loop—your home isn't just looking whole again but is also safe from future mold.
Timeframe: 2–5 days, based on the extent of reconstruction.
Step 7. Final Inspection & Clearance Testing
The last step ensures peace of mind:
Post‑Remediation Testing: Air and surface samples confirm spore counts are within safe limits.
Moisture & Humidity Check: Verify conditions remain dry.
Homeowner Walk‑Through: Your technician explains findings and maintenance tips.
Why It Matters: A successful clearance test is your green light—it guarantees your home is safe to reoccupy.
Timeframe: 2–3 hours for testing and review.
How Long Does Mold Remediation Take?
Together, an average 2,000 sq ft house with average mold infestation can take 5–10 days from inspection to ultimate clearance. This is a rough outline:
Inspection & Assessment: 1–2 days
Containment & Air Filtration: 1–2 days
Removal & Cleaning: 1–3 days
Drying & Moisture Control: 1–2 days
Repairs & Restoration: 2–5 days
Final Inspection & Testing: 1 day
Complicated jobs—such as concealed mold behind walls or within HVAC systems—extend this schedule, while smaller, surface-only instances conclude sooner.
Tips for Homeowners: Smoothing Your Mold Cleanup Process
Ask for a Written Scope: Your contractor should detail each step, materials to be replaced, and the timeline.
Verify Certifications: Look for IICRC, NADCA, or ACAC credentials to ensure the highest standards.
Prepare to Vacate: Big jobs can have you leaving for 2–5 days. Prearrange accommodations.
Document Everything: Take photos before, during, and after remediation—useful for insurance or resale.
Stay Involved: Walk the site daily, ask questions, and understand each phase.
Conclusion: Don’t Just Remove Mold
Discovering mold at home can be a shock—your sanctuary isn't anymore. But there's a silver lining here: modern mold remediation actually does work. When executed with care, it not only eliminates the issue; it makes your home stronger against future incursions. The key is choosing a team that treats your home like their own—one that doesn’t cut corners on containment, testing, or prevention. At Mold Detection SoCal, we’ve seen how cutting just one step (like skipping air scrubbing or post-testing) leads to callbacks, health relapses, and frustrated homeowners.
Mold remediation isn't a quick flip-of-the-spray-bottle task—it's an involved process to eliminate mold, repair sources of moisture, and discourage re-growth. With an idea of what to anticipate throughout mold remediation—from the mold inspection and evaluation to the final clearance test—homeowners can be informed, speak up for quality work, and steer clear of surprises.
When you work with a reputable local specialist—such as Mold Detection SoCal—you receive clear timelines, certified technicians, and a home returned to safety. Up for addressing mold the proper way? Call us at (949) 254‑0884 to schedule your comprehensive inspection and begin your stress‑free mold remediation journey today.